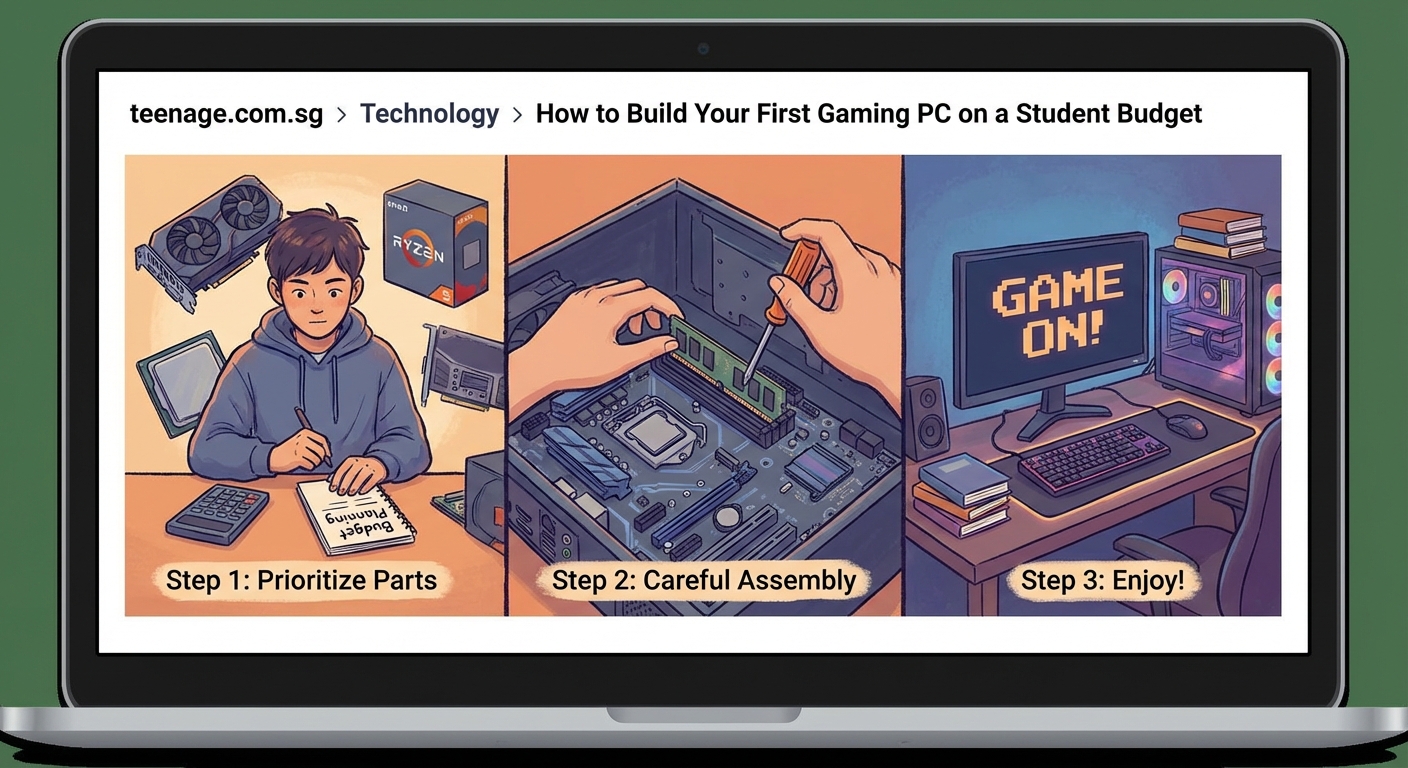
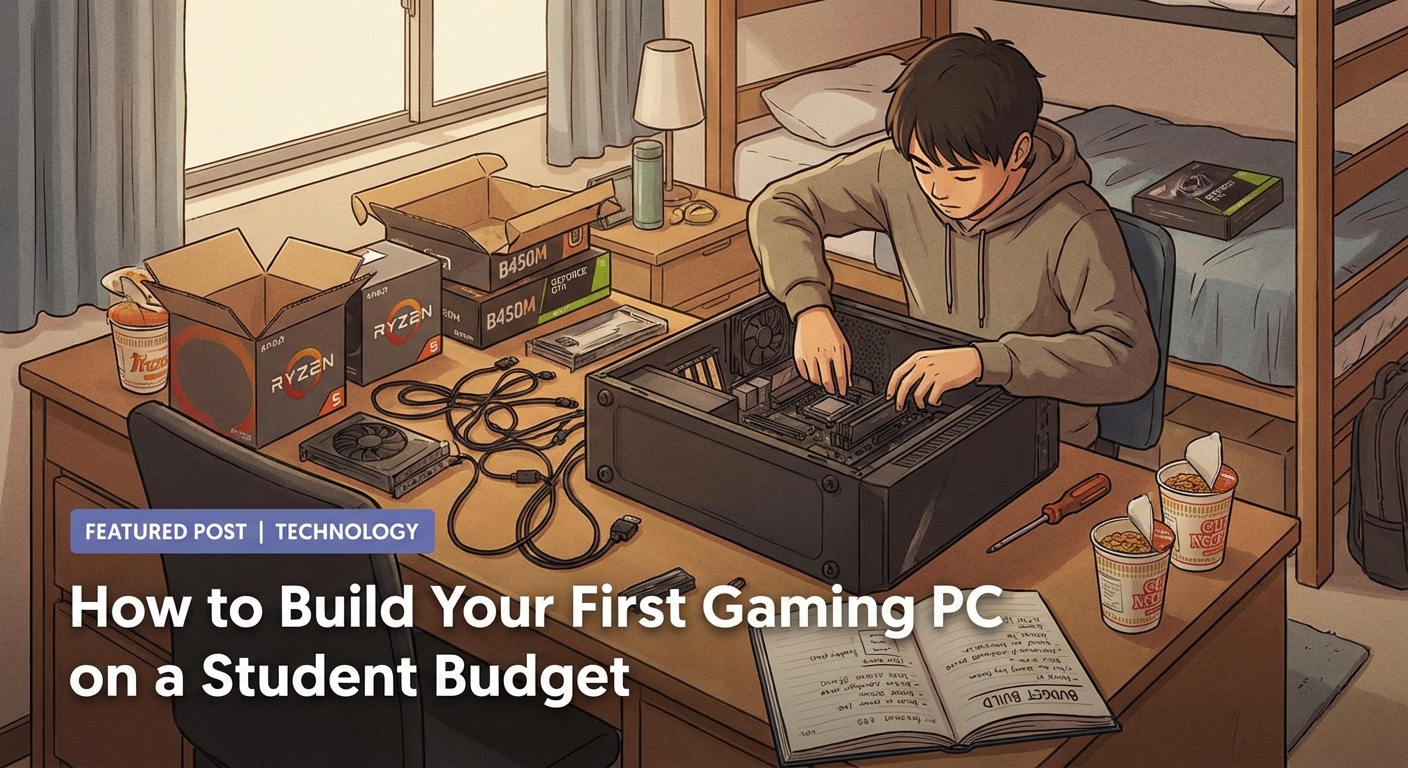
How to Build Your First Gaming PC on a Student Budget
Building your first gaming PC feels impossible when you’re juggling tuition, textbooks, and trying to have a social life. But here’s the truth: you don’t need to drop thousands of dollars to play the latest games at decent settings. With smart component choices and a bit of patience, you can build a solid gaming rig for less than what most people spend on a pre-built system.
Building a gaming PC on a student budget requires strategic component selection and timing your purchases around sales. Focus on a balanced build with a mid-range GPU and CPU, reuse peripherals when possible, and prioritize upgradability. With $600-$800, you can build a system that handles modern games at 1080p while leaving room for future improvements as your budget allows.
Setting Your Budget and Expectations
Most students can build a functional gaming PC for $600 to $800. That’s roughly the price of a PlayStation 5 or Xbox Series X, but with way more flexibility and upgrade potential.
Your budget determines what games you can play and at what settings. A $600 build handles esports titles like Valorant, League of Legends, and Fortnite at high settings with solid frame rates. It also runs AAA games like Cyberpunk 2077 or Elden Ring at medium settings.
An $800 build pushes into high settings for most modern games at 1080p resolution. You’ll get smoother gameplay and better visuals without breaking the bank.
Start by listing what you already have. Got a monitor, keyboard, and mouse? That saves $150-$300 right there. Using a TV temporarily? That works too, even if it’s not ideal for competitive gaming.
Understanding the Core Components You Need
Every gaming PC needs six essential parts. Here’s what each one does and where you can save money:
Processor (CPU): This runs your games and handles background tasks. For budget builds, AMD’s Ryzen 5 5600 or Intel’s Core i3-12100F both offer excellent gaming performance for under $150. Don’t overspend here since your graphics card matters more for gaming.
Graphics Card (GPU): This renders your games and has the biggest impact on performance. Budget $250-$400 here. The NVIDIA GTX 1660 Super or AMD RX 6600 deliver great 1080p gaming without emptying your wallet.
Motherboard: This connects everything together. Match it to your CPU brand and socket type. Budget boards from ASRock or MSI work fine and cost $80-$120.
RAM (Memory): Get 16GB minimum. Games like Call of Duty and Apex Legends need this much to run smoothly. Two 8GB sticks cost around $50-$70.
Storage: A 500GB SSD for your operating system and main games costs $35-$50. Add a 1TB hard drive later for $40 if you need more space.
Power Supply: This powers everything. Get a reliable 500-600W unit from EVGA, Corsair, or Seasonic for $50-$70. Never cheap out here since a bad PSU can fry your entire system.
You also need a case ($40-$60) to hold everything. Pick one with good airflow and enough space for your components.
Where to Find the Best Deals on PC Parts
Timing your purchases saves serious money. Here’s when and where to shop:
Black Friday and Cyber Monday offer the deepest discounts, sometimes 30-40% off. Prime Day in July also has solid deals on components.
Check these sites weekly:
– Newegg for combo deals and open-box items
– Amazon for price drops and warehouse deals
– Best Buy for clearance graphics cards
– Micro Center if you live near one (their CPU and motherboard bundles save $50-$100)
Join r/buildapcsales on Reddit. Users post deals the moment they drop. Set up alerts for specific components you want.
Consider used parts for some components. Graphics cards from the previous generation work great and cost 40-50% less than new. Buy from eBay or Facebook Marketplace, but test everything before paying.
“I built my first gaming PC for $650 by waiting three months and buying parts as deals popped up. My GPU alone dropped $80 during a flash sale. Patience literally saved me enough for a whole new monitor.” – Reddit user on r/buildapc
Avoid buying everything at once unless you find an amazing sale. Prices fluctuate weekly, and newer budget options appear constantly.
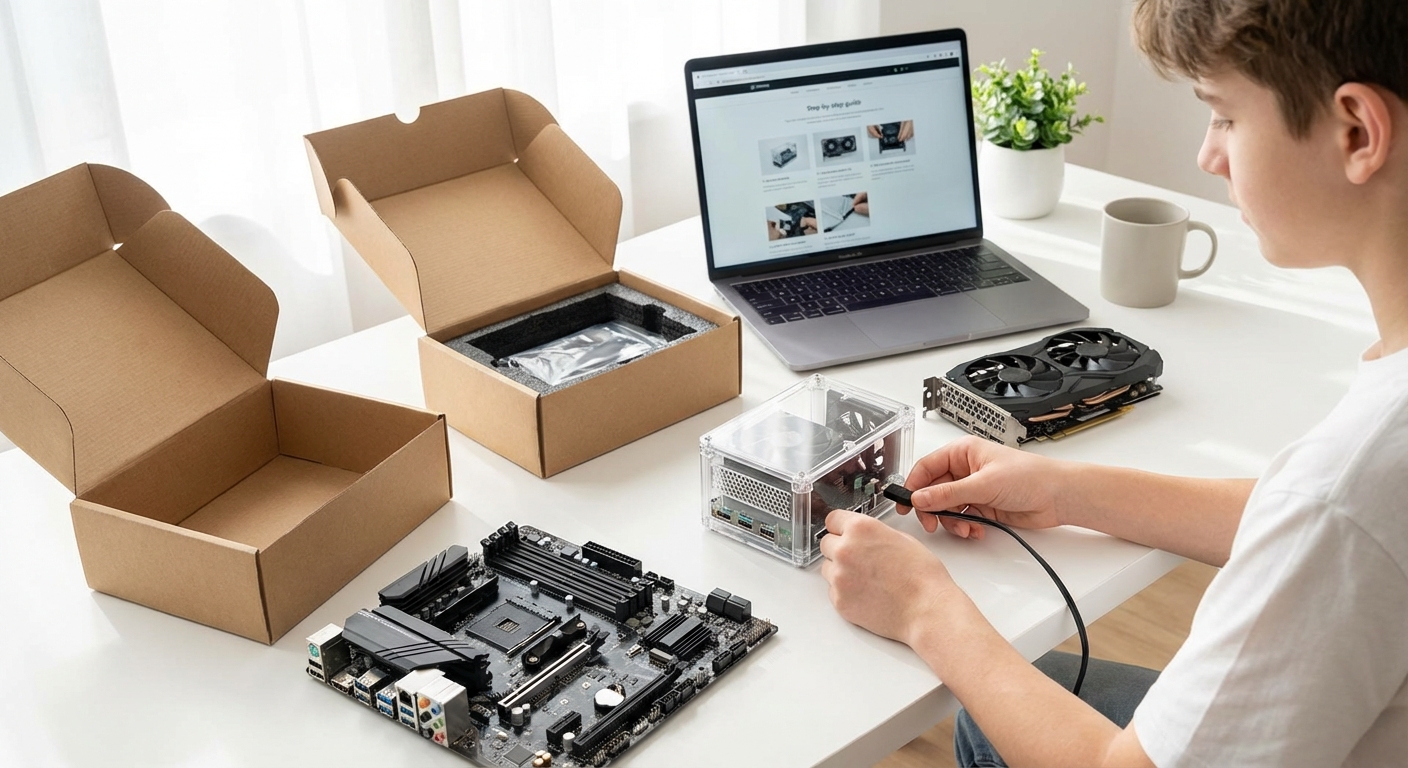
Step-by-Step Assembly Process
Building a PC looks scary but follows a simple order. Set aside 2-3 hours in a well-lit space with a clear table.
1. Prepare Your Workspace
Gather a Phillips head screwdriver, your component boxes, and the manuals. Work on a non-carpeted surface to avoid static electricity. Touch your case occasionally to ground yourself.
2. Install the Power Supply
Mount it in the bottom rear of your case with the fan facing down (if your case has ventilation there) or facing into the case. Screw it in with the four screws included.
3. Install the CPU
Open your motherboard box on a flat surface. Lift the CPU socket lever and gently place your processor in the socket. The gold triangle on the CPU matches a triangle on the socket. Don’t force it. Lower the lever to secure it.
4. Attach the CPU Cooler
Most budget CPUs include a cooler. Apply thermal paste (a rice grain sized dot in the center) if your cooler doesn’t have it pre-applied. Line up the cooler with the mounting brackets and screw it down in an X pattern.
5. Install RAM
Open the clips on both ends of your RAM slots. Line up the notch on your RAM stick with the notch in the slot. Press down firmly until both clips snap into place. Use slots 2 and 4 if you have two sticks.
6. Mount the Motherboard
Screw in the standoffs that came with your case (small brass spacers). Place your motherboard on them, lining up the rear I/O shield. Screw the motherboard down gently. Don’t overtighten.
7. Install Storage
M.2 SSDs screw directly into your motherboard. Remove the tiny screw, slide in your SSD at an angle, push it down, and screw it in. 2.5″ SSDs mount in drive bays with screws.
8. Install the Graphics Card
Remove the rear slot covers where your GPU will sit. Line up your graphics card with the top PCIe slot (the long one closest to your CPU). Press down firmly until it clicks. Screw it to the case and connect the power cables from your PSU.
9. Connect All Cables
This takes the longest. Connect:
– 24-pin motherboard power (large cable)
– 8-pin CPU power (top left of motherboard)
– GPU power cables (6 or 8-pin)
– SATA power to your SSD/HDD
– Front panel connectors (power button, USB, audio)
Your motherboard manual shows exactly where each tiny front panel connector goes.
10. Cable Management
Tuck excess cables behind the motherboard tray or in the PSU shroud. This improves airflow and looks cleaner. Use zip ties or velcro straps.
Common Mistakes and How to Avoid Them
| Mistake | Why It Happens | How to Fix It |
|---|---|---|
| PC won’t turn on | Forgot to flip PSU switch or didn’t connect CPU power | Check PSU switch on back and 8-pin CPU cable at top left of motherboard |
| No display output | Monitor plugged into motherboard instead of GPU | Plug HDMI/DisplayPort cable into graphics card, not motherboard |
| RAM not detected | Not fully seated or in wrong slots | Push RAM until clips snap. Use slots 2 and 4 for dual channel |
| Overheating | Forgot to remove plastic from cooler or no thermal paste | Remove cooler, clean with alcohol, reapply paste, remount |
| Parts don’t fit | Bought incompatible components | Check PCPartPicker compatibility before buying |
Don’t panic if your PC doesn’t boot the first time. Most issues come from loose cables or RAM not fully clicked in. Reseat everything and try again.
Installing Windows and Essential Software
Once your PC posts (shows the motherboard logo), you need an operating system. Windows 10 or 11 work best for gaming.
Create a bootable USB drive on another computer using Microsoft’s Media Creation Tool. Plug it into your new PC and boot from it. The installation takes 20-30 minutes.
Windows costs $139 retail, but students often get free licenses through their school. Check your college’s software portal or ask IT services.
You can also run Windows unactivated for free. You’ll have a watermark and can’t change wallpapers, but everything else works fine while you save up for a license.
After Windows installs, download these immediately:
– Graphics card drivers from NVIDIA or AMD’s website
– Chrome or Firefox browser
– Steam, Epic Games Store, or your preferred game launcher
– Discord if you game with friends
Update Windows fully before installing games. This prevents crashes and compatibility issues.
Optimizing Performance on a Budget Build
Your new PC needs some tweaking to run its best. These changes cost nothing but make a real difference.
Enable XMP/DOCP in BIOS: This makes your RAM run at its rated speed instead of the default slower speed. Restart your PC, press Delete or F2 during boot, find the XMP setting, enable it, save and exit.
Set Windows to High Performance mode: Go to Control Panel > Power Options > High Performance. This stops Windows from throttling your CPU to save power.
Disable startup programs: Press Ctrl+Shift+Esc, click the Startup tab, and disable programs you don’t need running constantly. This frees up RAM and speeds up boot times.
Adjust in-game settings: Start with medium settings and increase them until you hit your target frame rate (usually 60 FPS minimum). Turn off motion blur and depth of field first since they tank performance without improving visuals much.
Monitor temperatures: Download HWMonitor to check your temps. CPUs should stay under 80°C while gaming. GPUs can safely hit 80-85°C. If you’re running hotter, improve case airflow by adding a $10 case fan.
Planning Future Upgrades
Budget builds shine because you can improve them over time. Here’s the smartest upgrade path:
Year 1: Add more storage when your SSD fills up. A 1TB SSD costs $60-$80 and takes five minutes to install.
Year 2: Upgrade your GPU if you want higher settings or better frame rates. Sell your old card on eBay to offset the cost. Just like building a capsule wardrobe on a student budget, upgrading gradually makes expensive improvements manageable.
Year 3: Add more RAM if 16GB isn’t enough anymore. Buy the same speed and brand if possible, or replace all your RAM with a 32GB kit.
Year 4-5: Consider a CPU upgrade if your motherboard supports newer processors. This extends your build’s life another 2-3 years.
Your power supply and case can last a decade. Your motherboard determines how long you can keep upgrading before needing a full rebuild.
Comparing Your Build to Pre-Built Options
Pre-built gaming PCs seem convenient but cost 20-30% more for the same performance. A $600 DIY build matches a $800 pre-built in gaming benchmarks.
Pre-builts make sense if you’re terrified of building or need a warranty on the whole system. They also go on sale during holidays, sometimes matching DIY prices.
But building yourself means:
– Better quality components (pre-builts often use cheap PSUs and RAM)
– Exactly the parts you want
– Learning how your PC works (makes troubleshooting easier)
– Pride in building something yourself
You also avoid bloatware that slows down pre-builts out of the box.
Troubleshooting After Your First Boot
Something will probably go wrong. That’s normal. Here’s how to fix the most common issues:
Blue screen errors: Usually driver related. Boot into safe mode and use Device Manager to roll back recent driver updates.
Game crashes: Update your graphics drivers first. If that doesn’t help, lower your settings or check if your PSU has enough wattage.
Random restarts: Check CPU and GPU temperatures. Overheating causes protective shutdowns.
Slow performance: Make sure your monitor is plugged into your GPU, not your motherboard. Check Task Manager to see what’s using resources.
No internet: Install motherboard drivers from the USB drive or disc that came with your board. Windows doesn’t always include ethernet and WiFi drivers.
YouTube has video guides for every specific problem. Search your motherboard model plus your issue.
Getting the Most Out of Your Student Budget Build
Your first gaming PC doesn’t need to play everything at ultra settings. It needs to run the games you actually want to play at frame rates that feel smooth.
A $700 build today handles 95% of games at 1080p with settings that look great. You’re not missing out by skipping ray tracing or 4K resolution. Most people game at 1080p anyway.
The best part? You built it yourself. You know exactly how it works. When something breaks or you want to upgrade, you don’t need to pay someone else or buy a whole new system.
Start shopping for deals now, even if you’re not ready to build yet. Bookmark r/buildapcsales and check it daily. When you see a killer deal on a GPU or CPU, grab it. Store it safely until you have all your parts.
Your gaming PC will outlast any console generation and cost less over time. No subscription fees for online play. Cheaper games through Steam sales. Free multiplayer. And when your friends are buying PS6 or Xbox Series Y in five years, you’ll just swap in a new graphics card and keep gaming.
Building your first PC teaches you more than just how computers work. It shows you that expensive tech isn’t as complicated as companies want you to think. That confidence carries over into other money-saving skills that help throughout college and beyond.
Take your time. Watch build guides. Ask questions in forums. And remember that thousands of students build their first gaming PC every month. If they can do it, so can you.


Post Comment