The Complete Guide to Cleaning Your Makeup Brushes (Yes, You Should Be Doing It Weekly)

You finally have that perfect foundation blend. But when was the last time you cleaned the brush you used to apply it? If you are drawing a blank, you are not alone. Most of us get so caught up in buying new palettes and mastering winged liner that we forget about the tools doing all the heavy lifting. Dirty brushes are basically a welcome mat for bacteria, and that can lead to breakouts, uneven application, and even skin irritation. The good news is that cleaning them is simple and takes way less time than you think. Let’s walk through the entire process so you can keep both your skin and your makeup looking their best.
Clean your makeup brushes at least once a week to prevent bacteria buildup that causes breakouts and skin irritation. Use a gentle cleanser (like baby shampoo or a dedicated brush soap) with lukewarm water, reshape the bristles, and dry them flat. A deep clean every seven days and a spot clean after each use will extend the life of your brushes and keep your makeup looking flawless.
Why Regular Cleaning Matters More Than You Think
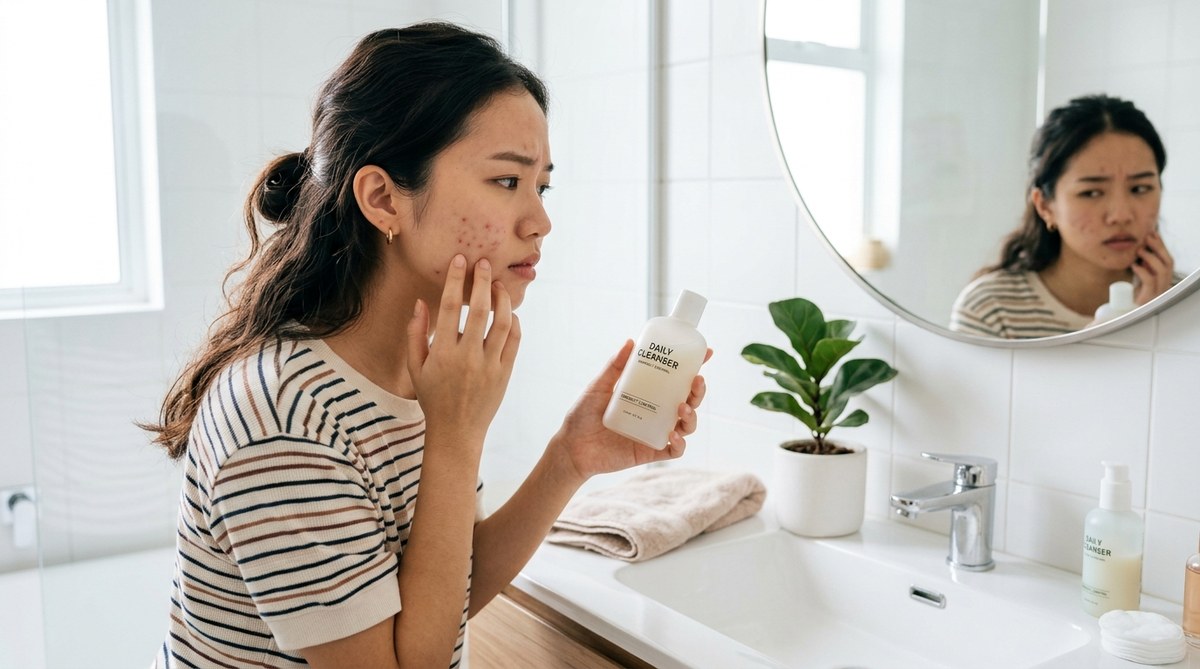
Think about everything a brush touches: your face, leftover powder, cream products, and sometimes the inside of a drawer or your makeup bag. That combination is a breeding ground for bacteria that can transfer straight onto your skin. The result can range from clogged pores to full-on breakouts, especially if you have acne-prone skin.
Dirty bristles also affect how your makeup goes on. Old product buildup makes blending harder and can change the color of a shadow or foundation. Have you ever noticed a brush turning your favorite nude shadow into a muddy gray? That is caked-on pigment talking. Clean brushes apply product more evenly, which means you use less makeup and get a smoother finish.
“I tell all my clients that brush hygiene is just as important as skincare. A brush that isn’t washed is basically a petri dish for bacteria. If you care about your complexion, you need to care about your tools.” – Mia Torres, celebrity makeup artist.
Beyond skin health, clean brushes last longer. The oils and residues from makeup can weaken the glue that holds the bristles together, causing them to shed or the ferrule (the metal part) to loosen. A little care now saves you from replacing your favorite brushes every few months.
How Often Should You Clean Them?
The short answer: it depends on how you use them. Here is a breakdown based on brush type and usage.
- Foundation and concealer brushes: Clean every 2 to 3 days. Liquid and cream products hold more bacteria.
- Powder brushes (blush, bronzer, setting powder): Wash once a week. They pick up less moisture but still collect oil from your face.
- Eye shadow brushes: Wash every 7 to 10 days. You use them on your eyes, which are sensitive, so don’t skip them.
- Lip brushes: Clean after each use (or use disposable applicators). Lip products can grow bacteria quickly.
- Beauty sponges: Dampen and microwave safe sponges after each use, and deep clean every 3 to 4 days. Replace them every 3 months.
If you have acne or sensitive skin, bump up the frequency. And if you share brushes with a friend (not recommended, but it happens), clean them thoroughly before and after.
What You Need to Clean Your Brushes
You do not have to buy fancy brush cleaners, though they are nice. Basic household items work just as well. Here is your checklist:
- A gentle cleanser: Baby shampoo, gentle liquid soap, or a dedicated brush soap. Avoid harsh dish soaps that strip natural bristles.
- Lukewarm water: Hot water can damage the glue. Cold water does not break down makeup effectively.
- A clean towel or microfiber cloth: For drying and reshaping.
- A small bowl or the palm of your hand: Either works for swirling the brush in the cleanser.
- A brush cleaning mat or silicone glove (optional): Textured surfaces help work the soap deep into bristles.
If you want to spot clean between washes, you can use a spray brush cleaner. Just spritz it onto a tissue and swirl the brush until no color comes off. This is great for when you need to switch colors in the middle of a look.
Step-by-Step Guide to Deep Cleaning Your Brushes
Ready to get them sparkling? Follow these steps. Always take your time, especially if your brushes are heavily soiled.
-
Wet the bristles only. Hold the brush under lukewarm water with the bristles pointing downward. You want to keep water away from the ferrule (metal part). If water gets inside, the glue can weaken and bristles will fall out over time.
-
Apply your cleanser. Pour a small amount of baby shampoo or brush soap into the palm of your hand or onto a brush cleaning mat. Gently swirl the wet brush in the soap. You will see color and grime starting to come off.
-
Work the bristles. Use your fingers to massage the bristles in the direction of the brush shape. Focus on the base where product tends to settle. Be gentle; aggressive scrubbing can bend or break natural bristles.
-
Rinse thoroughly. Rinse under lukewarm water with the bristles pointing down again. Keep rinsing until the water runs clear. This step is important because leftover soap can irritate your skin.
-
Squeeze out excess water. Gently press the bristles with your fingers or a clean cloth. Do not twist or pull. You just want to remove the moisture so the brush dries faster.
-
Reshape the bristles. Use your fingers to fluff and shape the brush back to its original form. For eye brushes, pinch them into a point. For face brushes, make sure the dome is even.
-
Dry them flat. Lay the brushes on a clean towel with the bristles hanging slightly off the edge of a counter or table. This allows air to circulate and prevents water from pooling in the ferrule. Never dry brushes standing upright in a cup: water will leak down and ruin the glue.
Common Mistakes That Ruin Brushes
Even if you clean regularly, certain habits can do more harm than good. Here are the errors to avoid.
| Mistake | Why It’s Bad | What to Do Instead |
|---|---|---|
| Soaking the entire brush in water | Water seeps into the ferrule and loosens the glue, causing shedding. | Only wet the bristles up to the metal part. |
| Using hot water | Heat can melt glue and warp synthetic bristles. | Stick to lukewarm water. |
| Drying brushes upright | Water drips into the handle and breaks down the bond. | Lay brushes flat or angled sideways. |
| Skipping rinsing thoroughly | Leftover soap residue can cause irritation or leave a film on your makeup. | Rinse until no suds or color appear in the water. |
| Using harsh chemicals (rubbing alcohol, vinegar) | These can dry out natural bristles and damage synthetic ones over time. | Stick to mild soaps. |
| Scrubbing too hard | Bristles can bend or break, especially on tapered brushes. | Use gentle circular motions. |
Follow these guidelines and your brushes will stay soft, fluffy, and effective for years.
How to Dry Brushes Fast (When You Are in a Rush)
Sometimes you need that one brush for a last-minute event. If you cannot wait for overnight drying, try these methods.
- Use a brush drying glove: A rubber glove with nubs that wicks water quickly. Just swirl the wet brush on it and it speeds up drying.
- Squeeze with a towel: Roll the brush in a clean dry towel, pressing gently to absorb moisture. Repeat with a fresh part of the towel until no moisture transfers.
- Hair dryer on cool: Set a hair dryer to the cool/low setting and hold it about 6 inches from the bristles. Move it around until the brush feels dry to the touch. Never use heat.
- Brush spinning tool (like a makeup brush spinner): This gadget uses centrifugal force to fling water out. It reduces drying time to a few minutes. Just make sure you do it over a sink.
After spot cleaning or a spin, the brush will be ready to use almost immediately. But if you can, let it air dry completely for the best results.
When to Replace Your Brushes
Even with perfect care, brushes do not last forever. Here are signs it is time to toss them.
- Bristles fall out constantly: A few shed hairs now and then is normal, but if every wash results in a handful, the glue is gone.
- The ferrule loosens: If the metal part wiggles or separates from the handle, the brush is unstable.
- Bristles feel rough or scratchy: Natural hair brushes can dry out over time. If conditioning (with a gentle conditioner) does not fix it, replace.
- The shape is permanently mangled: If you cannot get the brush back to its original shape after cleaning, it will not apply makeup evenly.
- You have had it for more than 3 years: High-quality synthetic brushes can last 3 to 5 years with care, but natural bristles tend to wear out faster.
Investing in a new brush every so often is worth it for the health of your skin and the quality of your makeup.
Putting It All Into Practice
Now you know exactly how to clean makeup brushes and how often. The key is to make it part of your routine, not a chore you put off. Set a weekly reminder on your phone, maybe on a Sunday evening while you binge a new show. Keep your supplies handy in a small caddy under your bathroom sink. Once you see how much better your foundation looks and how much fewer breakouts you get, you will never skip this step again. Your brushes and your skin will thank you.
https://teenage.com.sg/10-makeup-mistakes-youre-probably-making-and-how-to-fix-them/
https://teenage.com.sg/are-you-using-expired-makeup-here-s-how-to-tell/



Post Comment